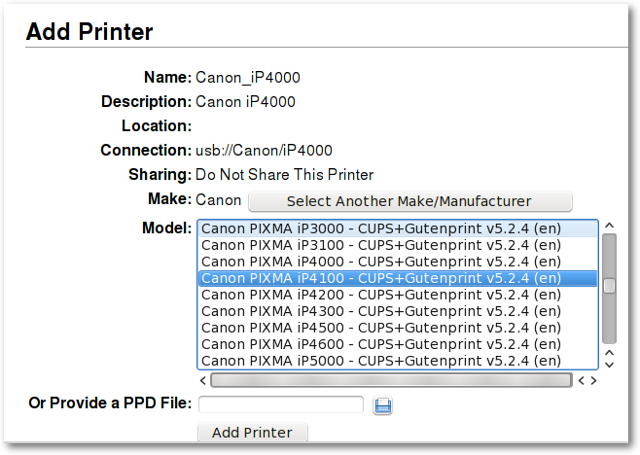
3.2.2. Setting up a Printer
After writing a document, transferring photos from your camera, or creating your own images with GIMP, you would probably like to print them out with your printer. To do this, you need to have a printer already installed on your system. “Manage Printing”, which is found under “System” in the main application menu, handles the installation and general management of your printers. (Ensure that “CUPS” is enabled in the startup services (see
Section 3.3.8, “Startup Services”), or Manage Printing will not start properly).
If you are buying a new printer, it is recommended to check the availability of Linux drivers beforehand from the
Open Printing database (or search on the Internet). Some companies offer printer drivers for Linux, but this is less common than desired, and often involves a lengthy installation process. For most Linux friendly printers, you have to install drivers such as gutenprint and HPIJS, both of which are available from the repositories.