2.3. Installing from a Live CD / USB
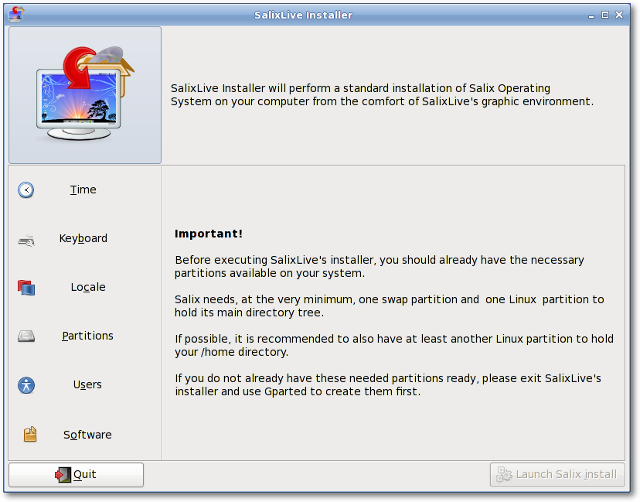
Salix Live Installer is found on the Desktop of every Live CD and is very easy to use. Contextual help triggered by the position of the mouse will be displayed above the application and will guide you every step of the way.
You will be greeted by a reminder that all the necessary partitions have to be created first. As we have seen, this can be done simply with the help of Gparted, which is included in Salix Live and is available directly on the desktop (see
Section 3.3.13.3, “Gparted”).
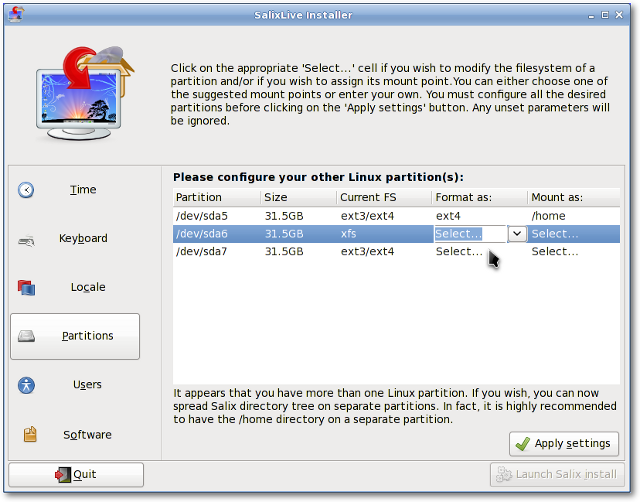
On the left side of the application, you will notice the different sections that must be configured before launching the installation process: Time, Keyboard, Locale, Partitions, Users and Software. Clicking on one of these sections will display the corresponding options that need to be set. As you progress through the configuration process, a check will be displayed beside each completed section. Only when all the sections have been completed will the “Launch Salix Install” button be activated.
So do take the time to familiarise yourself fully with Salix Live Installer. Undo options are available and none of the settings will be applied until you click on the “Launch Salix Install” button.
Remember that the existing swap partition will be automatically used by the Live installer without any prompting on your part.
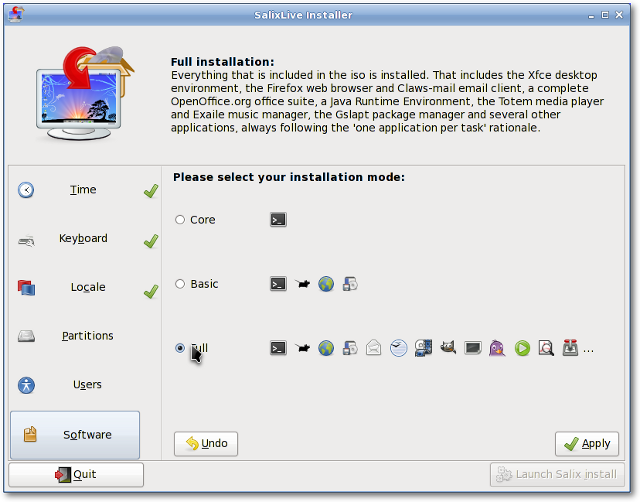
Salix comes with three different installation modes. The Full installation mode includes a range of useful applications one could need on a daily basis while following the "one application per task" rationale, while the Basic Mode provides a user with a graphical desktop environment, a web browser and Gslapt package manager (see
Section 3.1.1, “Gslapt”).
This is ideal for advanced users who would like to have the basic desktop environment installed first, and then to add their own choice of applications. The Core Mode installs the minimum software essential for a console system to start (i.e. a graphical environment is not provided). This is ideal if you are an experienced user and love to customise your installation for any specific purpose, such as a web server, file server and so on.
Once the installation process is completed, you will be given the choice to launch Lilo Setup to configure your LILO bootloader (see
Section 3.3.7, “Lilo Setup”). Most of the time this is what you will want to do although occasionally, it might be preferable not to, for example if you want to use Grub instead or if you want to simply incorporate Salix into an existing bootloader configuration from another distribution in a multiple boot setup.
Lilo Setup is also very easy to use. Contextual help triggered by the position of the mouse will also be displayed above the application and will guide you every step of the way.
Once Lilo is set up, you are good to go! You can re-start your machine, and start enjoying Salix time.