Product SiteDocumentation Site

Chapter 2. Starting Up Salix OS

2.1. Introduction
2.1.1. Downloading Salix OS
2.1.2. What is a Live CD / USB?
2.1.3. Creating a Salix Live USB Key
2.1.4. Booting from a Salix Installation CD/DVD/USB Key
2.1.5. Salix Live Boot Menu
2.1.6. Root Password
2.2. Preparing Salix Installation
2.2.1. Before starting
2.2.2. Partition Management
2.2.3. So what kind of partitions do you need?
2.3. Installing from a Live CD / USB
2.4. Installing from a Salix Installation CD
2.5. Installing from a Salix Installation USB

2.1. Introduction

2.1.1. Downloading Salix OS

The latest Salix OS or Salix Live releases are freely and easily available as ISO image files from the Salix OS download page.
An ISO image is an archive file of an optical disc. It can be easily rendered or burned to a DVD or CD by using media authoring or disc burning software. The resulting CD must not contain the .iso file; if it does, you have made a mistake in the process.
It is recommended, if possible, to verify the integrity of your downloaded file by comparing its md5sum file with the original one uploaded besides the corresponding ISO image file by Salix OS. This ensures that your downloaded image file matches exactly with the one provided on the Salix OS website, and minimises the possibility of installation errors later on.

2.1.2. What is a Live CD / USB?

A Live CD is a CD-ROM holding a self-contained bootable and fully functional operating system. It loads into memory using only the data provided on the CD. It will not modify any operating system or data present on its host computer and will leave no trace after shutdown.
A Live USB flash drive is similar to a Live CD, but it can have the added functionality of automatically and transparently writing changes back to its bootable medium.
Salix Live is the Live CD version of Salix OS. You can therefore safely use it to 'test drive' Salix OS without having to install anything on your computer. You will thus be able to determine whether and to what extent Salix OS is compatible with your particular hardware configuration and if it suits your personal taste.
If you are fully satisfied with your Live experience of Salix OS, you can then proceed to install it with the help of the Salix Live Installer.
Salix Live will also come in handy as a mobile solution if you wish to carry Salix OS everywhere you go, or if you need to perform some basic rescue operation such as fixing an ailing LILO bootloader with Lilo Setup, configuring some partitions with Gparted, etc.

2.1.3. Creating a Salix Live USB Key

  1. Open the .iso file using a software archiver (file-roller, xarchiver, 7-zip, iso-master, …).
  2. Extract all files and folders (boot, packages and Salix Live) to your USB root directory.
  3. Go to the "boot" directory on the USB key.
  4. If you're running on Unix (Linux, BSD, Mac OS X), just run the file called “install-on-USB.sh”. If you're on Windows, just run the file called “install-on-USB.cmd” instead.

2.1.4. Booting from a Salix Installation CD/DVD/USB Key

Your computer must be set to boot on the optical drive / USB port first before defaulting to the internal hard disk drive.
If that is not the case, you need to first modify the BIOS setting, usually by pressing the Del key or the F2 key (or some other key combinations depending on your machine). Once in the BIOS, find the "boot menu" or similar and set the order of the boot devices properly, with your optical drive/USB port in the first position. Save your changes and reboot your computer.
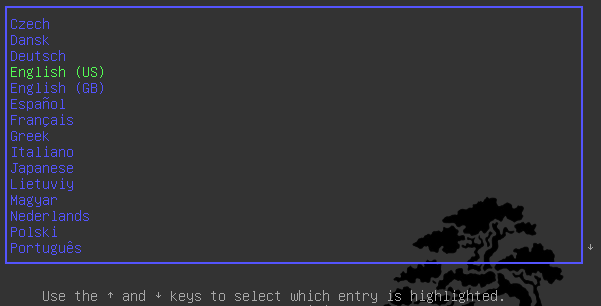
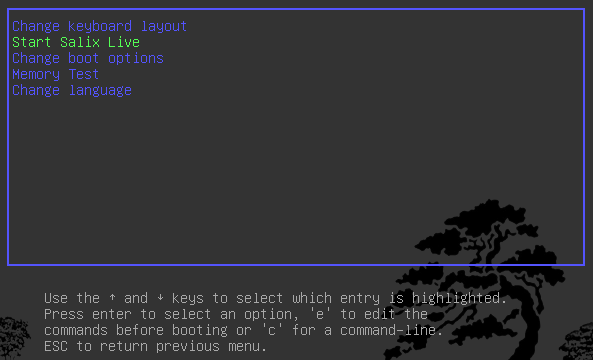
Insert the Salix OS (Live)CD/DVD or USB key, and start up your computer.

2.1.5. Salix Live Boot Menu

Screenshot of Salix Live Boot Menu
The first screen to greet you will enable you to select your language. Once you have selected your language, simply press on the Enter key to activate your choice.
On the following menu, you will be given the possibility to change your keyboard map if the default one for your language does not suit you.
Screenshot of Boot Menu edition options
You also have the possibility to modify most default boot settings (see Section 5.1, “Advanced Boot Options”).
Simply press Enter on the default menu entry: Start Salix Live and a moment later you will see Salix starting up.

2.1.6. Root Password

For a system wide change, such as installation of an application, you are required to type in the administrator's password (the “root” or “superuser” password).

Root Password

The password for Salix Live is live for all the Salix Live editions.